Step 1: Find a photo. Photo manipulation is outside the scope of this tutorial, but you can start by checking out my tutorial on color correction.
Step 2: Make sure you have the Selection tool selected, and then use the drop-down menu to make it a "Fixed Aspect Ratio"
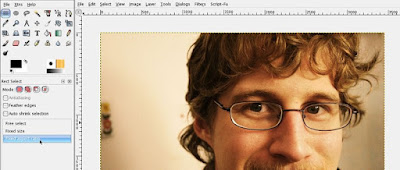
Fixed Aspect Ratio
Step 3: Set the Aspect Ratio to the size required by your Forum software (in this case it is 500x200).
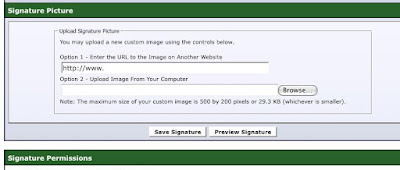
500 by 200
Step 4: Select the area you want, and then choose Image->Crop Image.
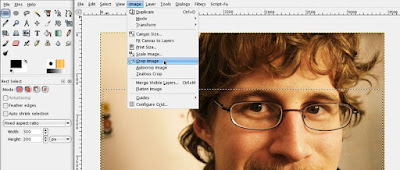
Crop
Step 5: Now go to Image->Scale Image.
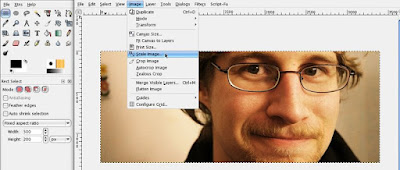
Scale
Step 6: Make the image the proper size (in this case, 500 by 200 pixels).
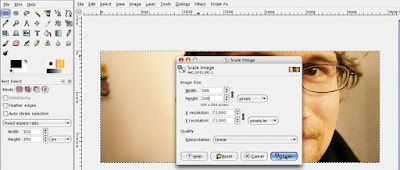
Resize
Step 7: Now go to File->Save As.
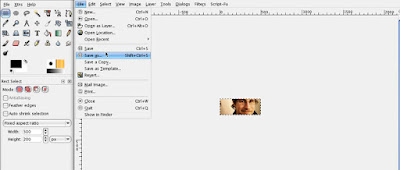
Save As
Step 8: Name your file, and make sure you select the JPEG File Type before you Save.
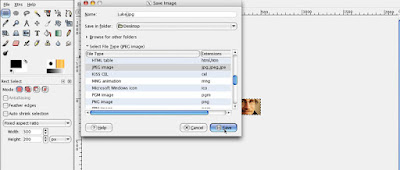
JPEG
Step 9: Choose your quality setting. 85 is just fine*.
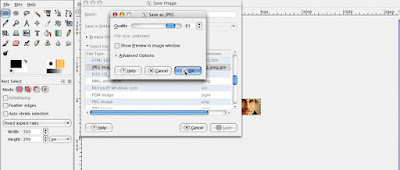
Quality 85
Step 10: Go back to the Forums and upload the image from your computer.

Upload
*If you'll notice, for these forums my image must not only be within the 500x200 pixel restraints, it must also be no larger than 29.3KB. So, I actually had to open my image again (which was 31KB) and resave it at a quality of 60 so it would be small enough. You will likely have to do the same.
So, there you have it: How to make a signature image for your favorite forums.
~Luke Holzmann
Your Media Production Mentor

3 comments :
What's Fix Aspect Ratio?!!
A fixed aspect ratio is where the box will always be the same shape (so tall by so wide) no matter how big or small it is. For instance, a square has a fixed aspect ratio of 1:1... it is always as tall as it is high. So if it is 170px high, it will be 170px wide.
If your ratio is, instead, 2.35:1 then the image will always be that way... so, if it is 800px wide it will be 340px tall.
Did that make sense, Bernice?
~Luke
yeah, thanks.
Post a Comment