Step 1: Get yourself an image.

Original Image
Step 2: Manipulate the image as you like and make sure you have an extra copy layer of the one you're happy with. Then click on the New Layer icon.
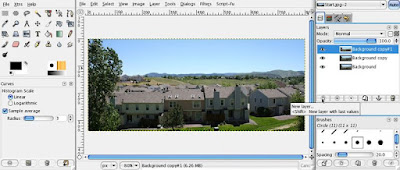
New Layer
Step 3: Select a White background.
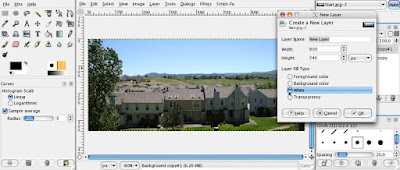
White
Step 4: Select the Oval Selection tool and draw a nice oval covering most of the image.
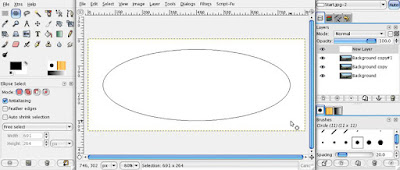
Oval Selection
Step 5: Go to Select->Feather and make the value 250.
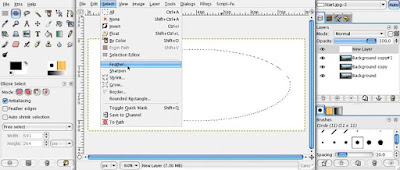
Feather
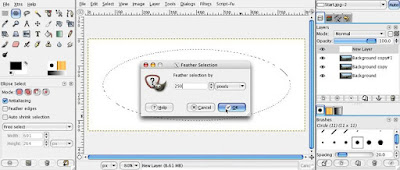
250
Step 6: Cut or Delete the selection from the White layer. You can also adjust the transparency if you feel like it.
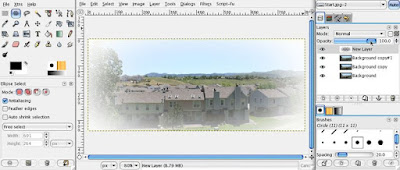
Cut (Control+X)
Step 7: Make sure you select your Image Layer and then go to Filters->Artistic->Apply Canvas. You can play with the settings, but I left them as is.
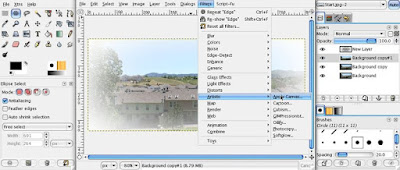
Apply Canvas
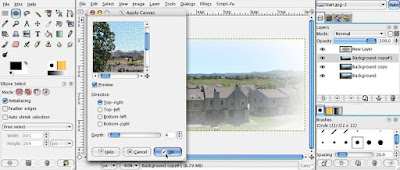
Default Settings
Step 8: Choose the Text tool and type something. The text editing tools are on the lower left dialog box for things like font size, font type, and color.
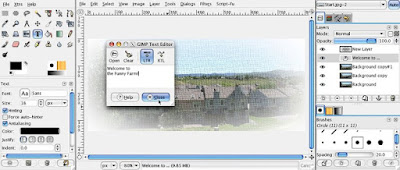
Text Editor
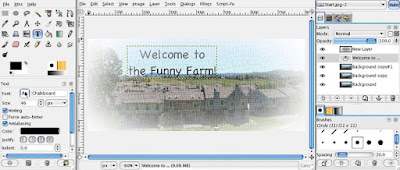
Text Attributes
Step 9: Moving the text can be tricky. Choose the Move Object tool, and make sure your cursor is touching the text itself, otherwise you will move the layer below.
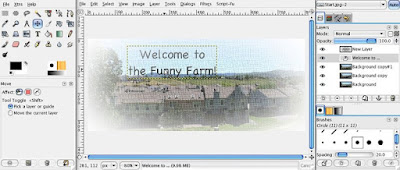
Move Tool
Step 10: Move the text layer above the white layer so it is more legible. Duplicate the text layer and then go to Layer->Transform->Flip Vertically.
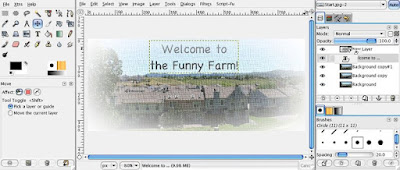
Duplicate Text
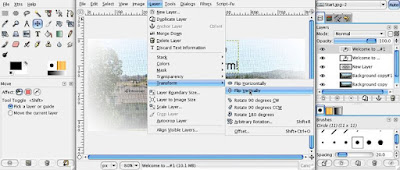
Flip Vertically
Step 11: Use the Distortion tool to tweak the text a little.
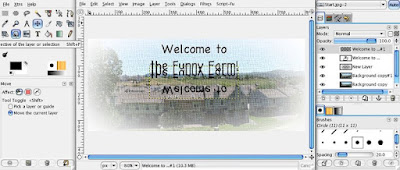
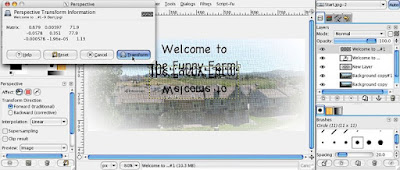
Distortion
Step 12: Change the Opacity on both text layers...
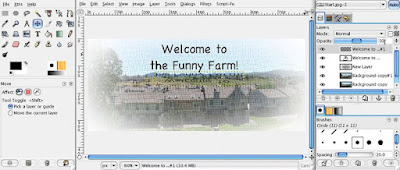
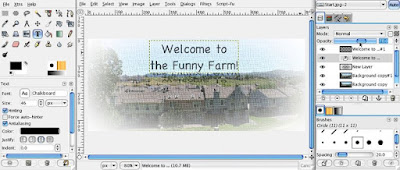
Opacity 50 and 70
Step 13: Save and Save As, and...

Ta-da!
There you be.
A few things to keep in mind:
- Make duplicates of your layer before you change it.
- Don't be afraid to experiment (if you have duplicate layers).
- If you don't like the way something turned out, delete that layer and start with a new duplicate one.
- Duplicate layers are your friend.
~Luke Holzmann
Your Media Production Mentor

No comments :
Post a Comment